MDC Connect support adding links to designs so that you can link directly to your files in the cloud. But if you don’t use a cloud service or would prefer direct access to your files, we have partnered with iDrive E2 to get you setup for 50% off your first years using this referral link. You can also make a free account with 10GB to test it out too.
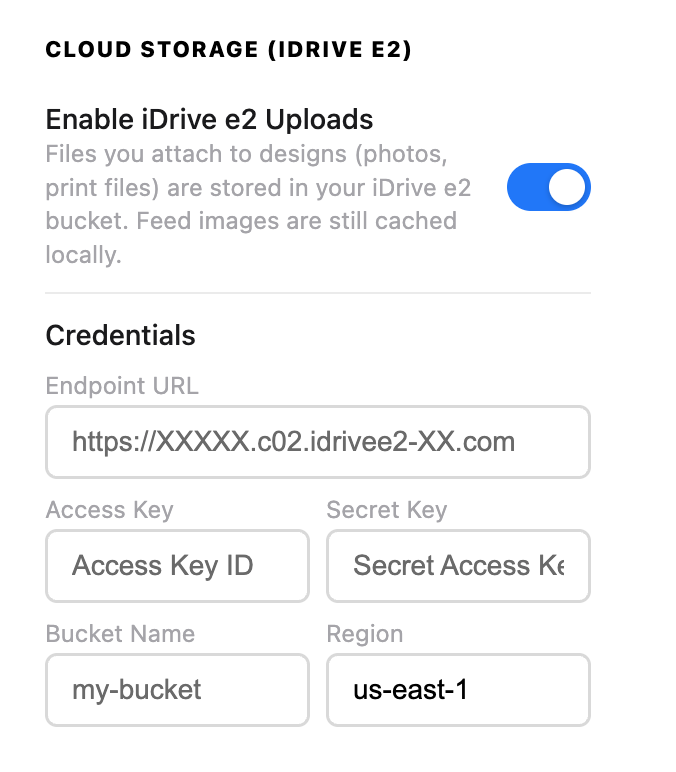
Once you have an account created, go into the settings on your MDC Connect app and turn on iDrive E2 Setting (Note: this feature is only available for the Unlimited Tier & above)
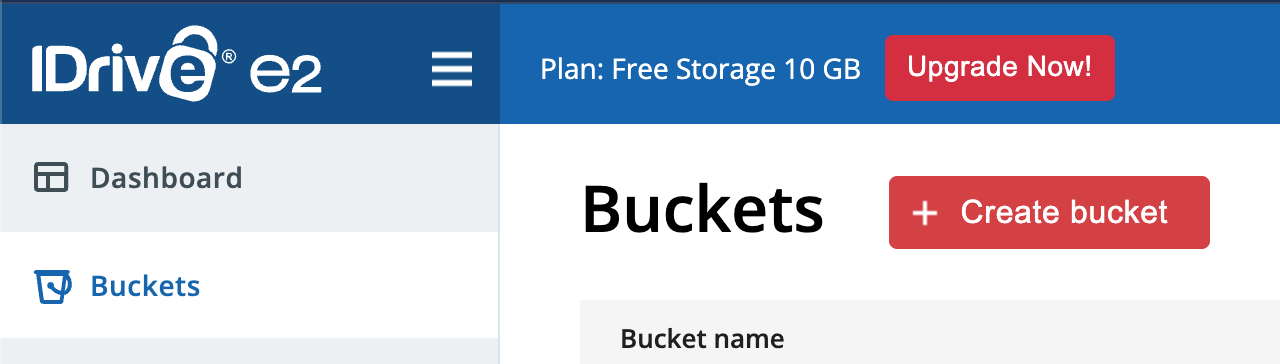
On the left-hand side, click “Buckets”, then clcik the big Red button that says “+ Create bucket”
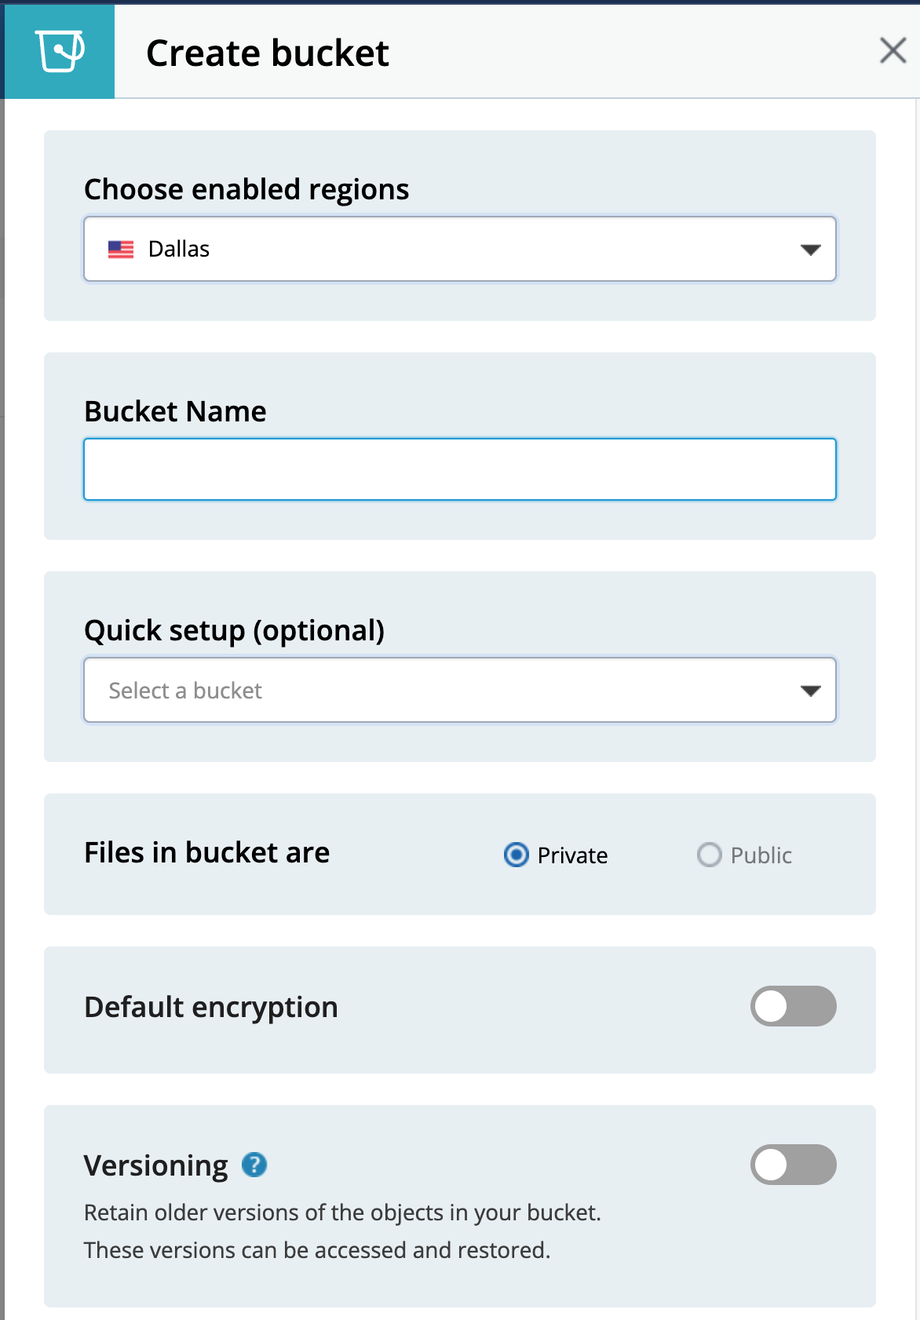
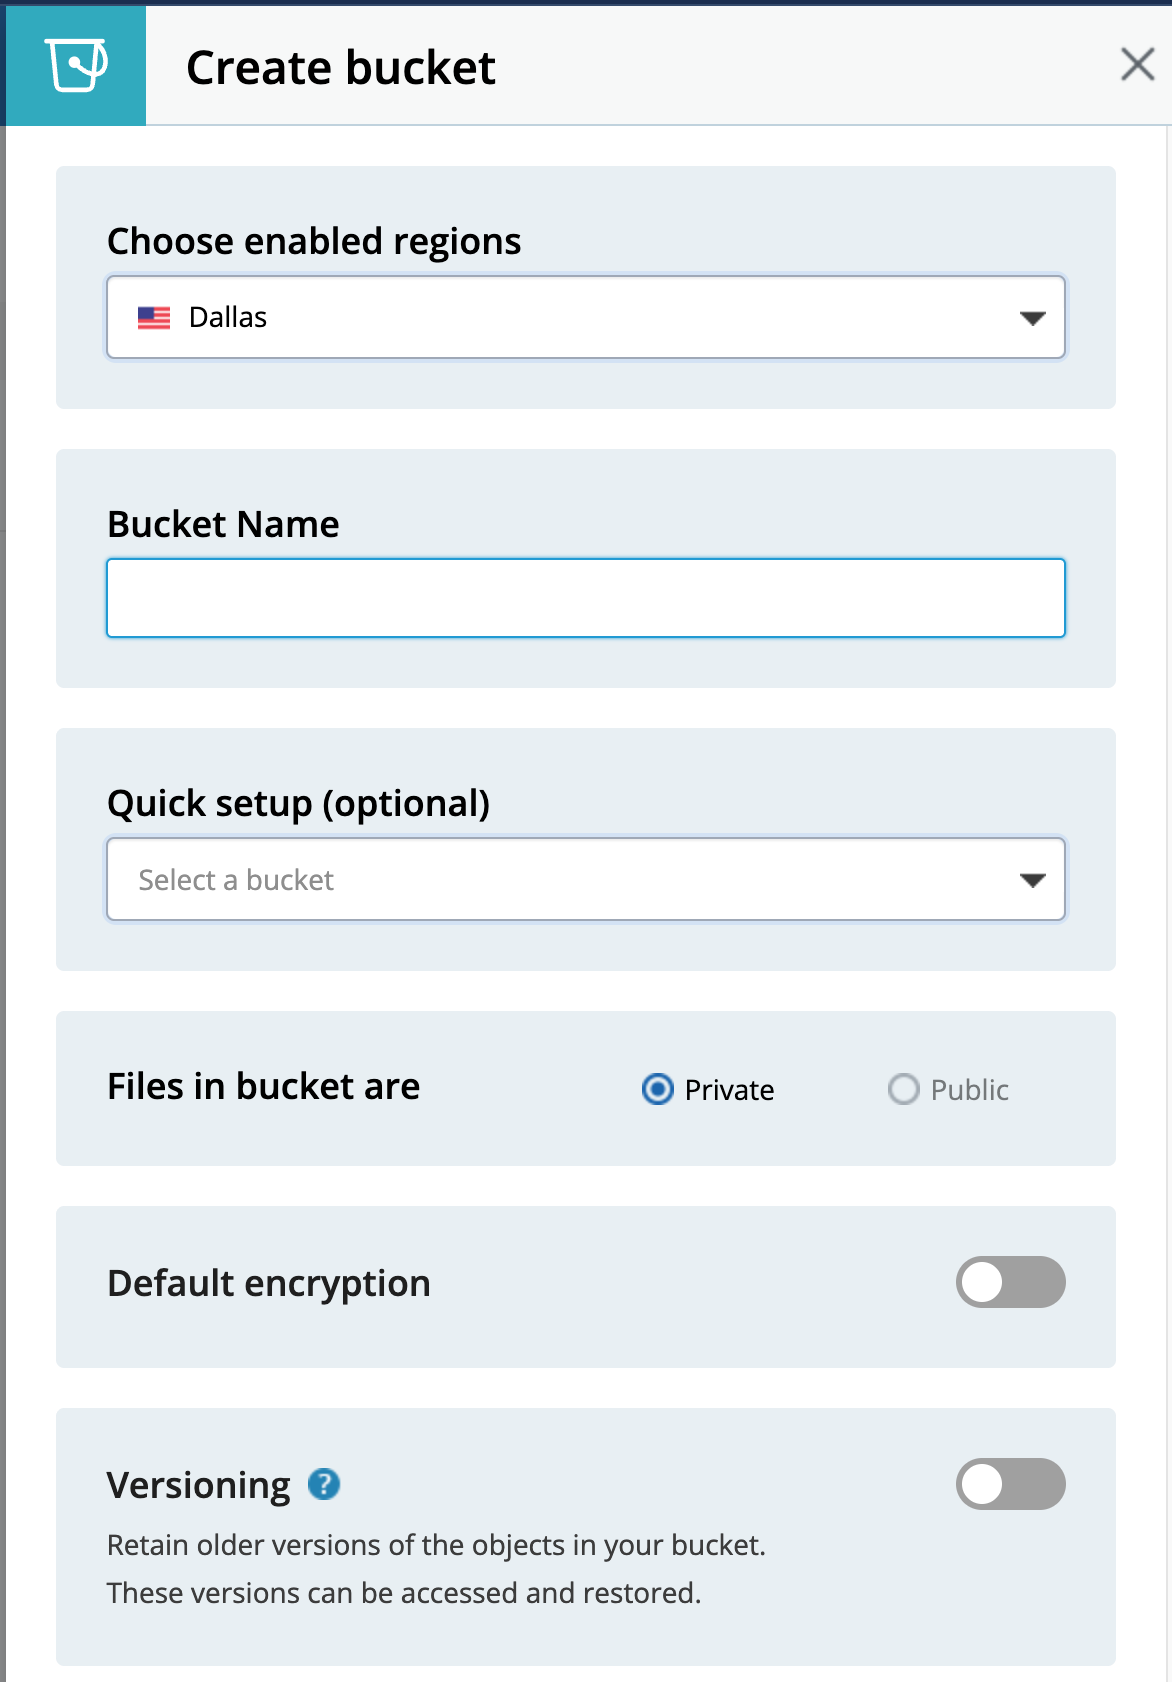
A side panel will open up.
Choose a region close to you
Create a bucket name (example: mdconnect2026) all lowercase letter & no spaces
Files in bucket are: Private
Then scroll to the bottom and click on the Blue button “Create Bucket”

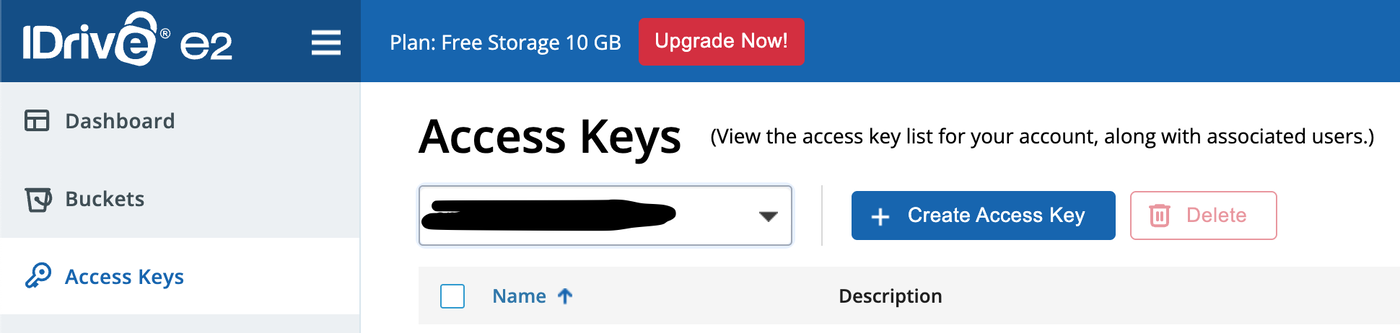
Now that the bucket where your files will be stored we need to create access between iDrive & the MDC Connect application. To do this, on the left-sidebar, click “Access Keys” Then click on the blue “+ Create Access Key” button


Again a side-panel will display Settings.:
Name: something recognizable to you, could be the same as your bucket name
Enabled Regions: SHould be the same as the bucket you just created
Assign access permission: Read and write (should be the default)
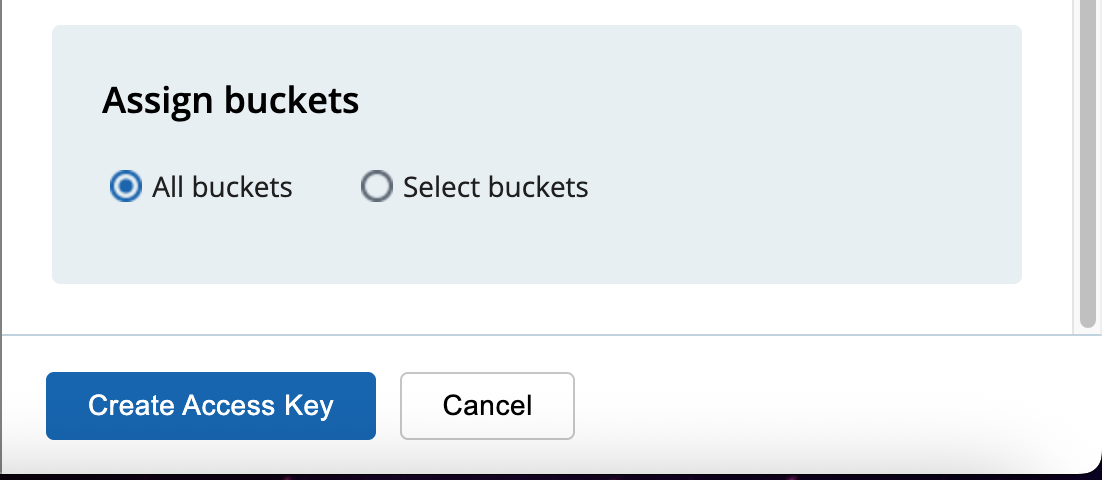
Assign Buckets: Select Buckets, then select the bucket you just createdLastly click the blue button “Create Access Key” at the bottom

You will then see a yellow box with information like the one pictured below (these are example credentials in the photo, they don’t actually work 😉)
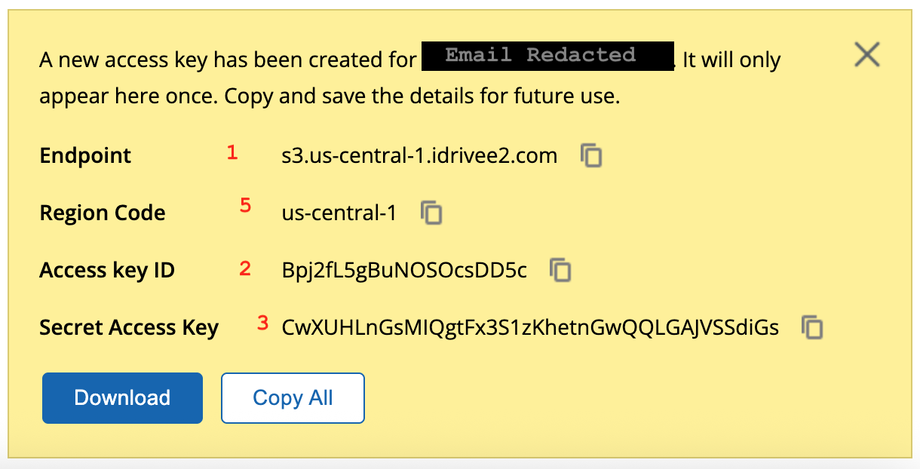
Match the numbers up with the image below. The image below is in the MDC Connect App. #4 is the bucket name, which you created in step 4 above.

It’s a good idea to keep this information in a safe spot (like a password manager) in case you need it later.